So, I was eating dinner Sunday night (homemade beef stew, which was quite delicious...I was extremely proud of myself), and I noticed something. Can you see it?
 (By the way, I hope it doesn't gross you out to see my half eaten food. Sorry!)


So, I was eating dinner Sunday night (homemade beef stew, which was quite delicious...I was extremely proud of myself), and I noticed something. Can you see it?
 (By the way, I hope it doesn't gross you out to see my half eaten food. Sorry!)


Posted by AnNicole@Our Suburban Cottage at 6:00 PM 15 Suburbanites Said
Labels: Decorating, The Cottage
One of the things I try to do on this little blog is to give you hope that you can improve your surroundings and create a place that feels like home. Whether you live in a dated house or an apartment where you can't touch the walls (with paint...that would be weird if you could never actually touch the walls), you can step out of the box and create an environment that makes you happy.
I haven't always had a house of my own. Back when I was a young single mom with a toddler (as opposed to the ancient 33 year old I am now...joking) I dreamed, and begged, and prayed every day that someday my son and I would have our own home. That dream wouldn't be realized for years, but I made the most out of what I had - which for a while was 2 bedrooms in my parent's house (sorry...I hope that isn't an overshare...just keeping it real here).
Even with those two little bedrooms I made an effort to create a home for us. My son's bedroom had a little loveseat in it where we could read together, or watch movies and munch on popcorn on our Friday night "date night". I would dim the lights and we would pretend it was a movie theater. I chose cute curtains and bedding for both rooms, and I even put up a Christmas tree in my bedroom each year that my son and I would decorate...sometimes with "ornaments" made from pine cones we collected in the backyard.
My point in sharing this is, we all dream of granite countertops, farmhouse sinks, and shiny hardwood floors....but don't get so wrapped up in looking to the future that you neglect the home you have right here, right now.
Posted by AnNicole@Our Suburban Cottage at 7:30 PM 42 Suburbanites Said
Labels: Imperfectly Perfect, Keeping it Real, Random Thoughts


 Enjoy your weekend!
Posted by AnNicole@Our Suburban Cottage at 8:54 AM 26 Suburbanites Said
Labels: Decorating, The Cottage
Are you in an accessory rut? Take this little quiz to find out:
The accessories on your fireplace mantel:
A) Change almost monthly
B) Change once each season
C) Um, they’ve pretty much been the same for the last year
D) What’s the problem? I got it the way I liked it in 1987 and I’m sticking with it!
I’m guilty of at least “C”. What about you? Now, I don’t think it’s realistic for most people to be constantly changing up their accessories (a girl's gotta do the laundry sometime), but taking a step back and shaking things up every once in a while can be a very good thing.
For instance, this is how my piano has looked since…um…January 1 (cute little me as a newby blogger wrote about it in this post).
Posted by AnNicole@Our Suburban Cottage at 10:00 AM 15 Suburbanites Said
Labels: Cheap and Easy, Decorating, The Cottage

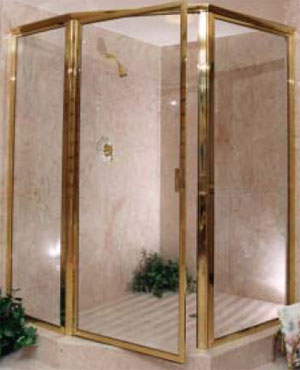
"When I scrubbed the inside of the shower with a scrub brush
at first, the finish did come off in spots. I switched to using a rag, and it
has been fine since, and the rest of the finish looks as good as it did the
first day. "

Posted by AnNicole@Our Suburban Cottage at 7:00 PM 30 Suburbanites Said
Labels: Experiment Central, Oil Rubbed Bronze Spray Paint


Well, I decided to take a stab at making my own monogrammed door mat. How hard can it be, right?
Step One
I took a plain door mat that I already had (it was originally from Ikea, but you should be able to find them easily and inexpensively at other stores).

Step Two
I taped off the where I wanted lines to go around the edges of the mat with brown packing tape (it's what I had):
Step Three
This is where if your printer's working you print a large letter in a font you like. If it's not (blast!) you take a stab at drawing one yourself. Then cut it out with an xacto knife.
Step Four
I taped the letter down in the middle, and then covered the remaining exposed areas with tape. CAUTION: Be sure to put lots of tape on the back side of the flimsy areas of the letter (I didn't use enough so my edges were a little fuzzy...my one fatal mistake...oh well).
Step Five
I pulled out some black spray paint from my stash and sprayed away. I did a total of four coats because I wanted really full and durable coverage.

Posted by AnNicole@Our Suburban Cottage at 6:00 PM 26 Suburbanites Said
Labels: Cheap and Easy, DIY, Home Exterior

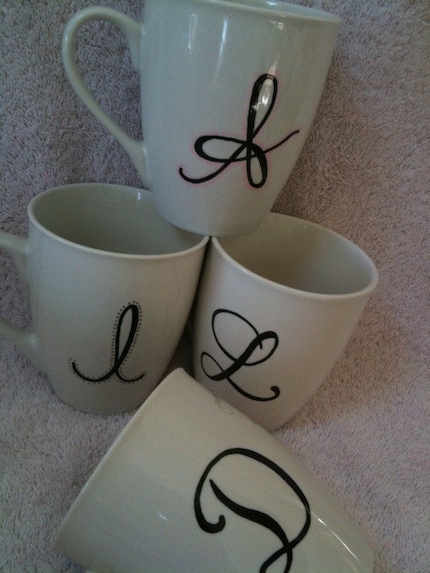


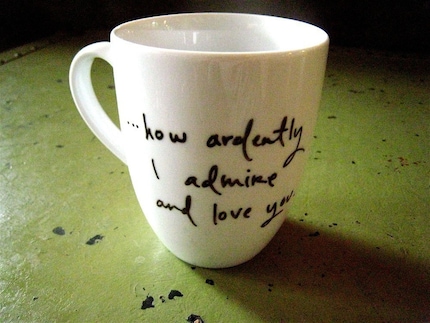 (I have to buy the Pride & Prejudice mug shown above. What is it about Mr. Darcy? He's really kind of a jerk, but my-oh-my he makes me giddy as a schoolgirl...can I get an amen? And while I'm on a tangent here...if you haven't watched the A&E version of Pride & Prejudice with Colin Firth...go out and rent it now! Sigh...)
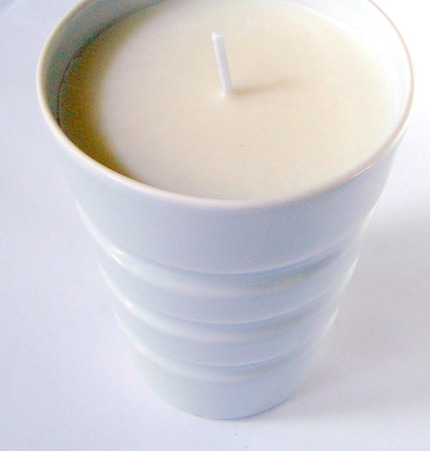
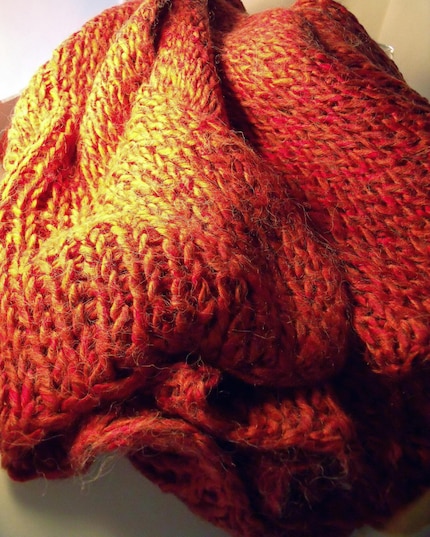
And when I'm ready to step outside into the gently brisk air, I can adorn myself in warm toned jewelry and fuzzy scarves:
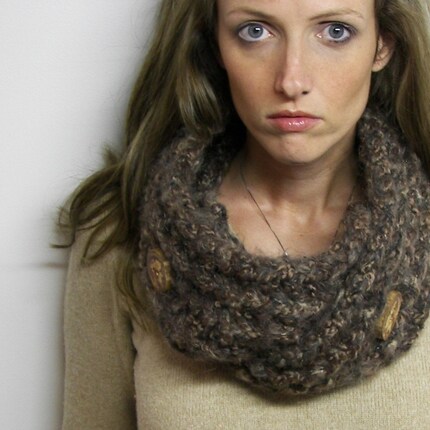
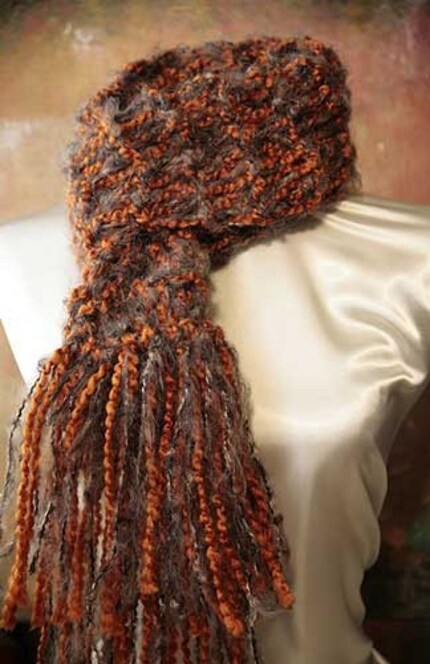
Ahhh, "Cozy", I'm glad we were able to meet.
I hope you all had a great weekend. I entertained our guests all weekend, and we had the best time. I was honestly a little (a LOT) panicked the night before they arrived because there was so much that was imperfect with my house. You know how you notice all the little things like strange spots on the carpet or smudges on doors when people are coming over? Yep...I was hyperventilating just a tad the night before, but we had an amazing time...imperfections and all.
Well, it's finally Fall in Oklahoma (55 degrees = Fall here), and I am dying to decorate some pumpkins in an amazingly cool way to adore my front porch. I've had an entire computer file dedicated to pumpkins the past two years...and I've yet to tackle one of these projects myself. Hey...I've been a busy gal.
If you're itching for a great pumpkin (get it..."great pumpkin" ha!) decorating project, here's some inspiration.


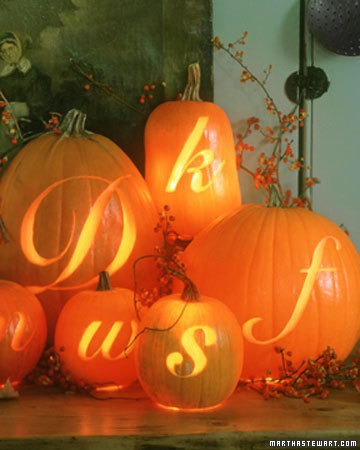
P.S. I believe all of the photos are Martha Stewart, but the first two pics were saved in my pre-blogging days...you know, back when I was innocently saving pretty pictures for my own use? So I'm not sure where I found them...so sorry!